
Our humble lab server: what’s inside and how to use it.
In this post, I document our lab server, how it’s made, what’s inside, and how to use it. We have used this machine for bioinformatic analyses in Azolla lab and the molecular plant physiology group.
A short history
When we got started with NGS data and bioinformatics, I worked on a default university workstation with Ubuntu Linux installed. However, I quickly realised that such a default workstation was not sufficient to do our analyses with sufficient speed. To meet my computing needs, and those of my colleagues who would soon follow doing analyses on their own NGS data, we set out in two paths. First, we got access to a local computing cluster. The learning curve to use such a cluster effectivelly is quite steep. Whilst this was sufficient to get my analyses running at the time, it was by no means a friendly learning environment for students and other ‘Linux beginners’ in our lab. Therefore we set out to create our own local hubmle Linux server, sufficiently fast to run big analyses locally, and sufficiently accessible for beginners to learn on.
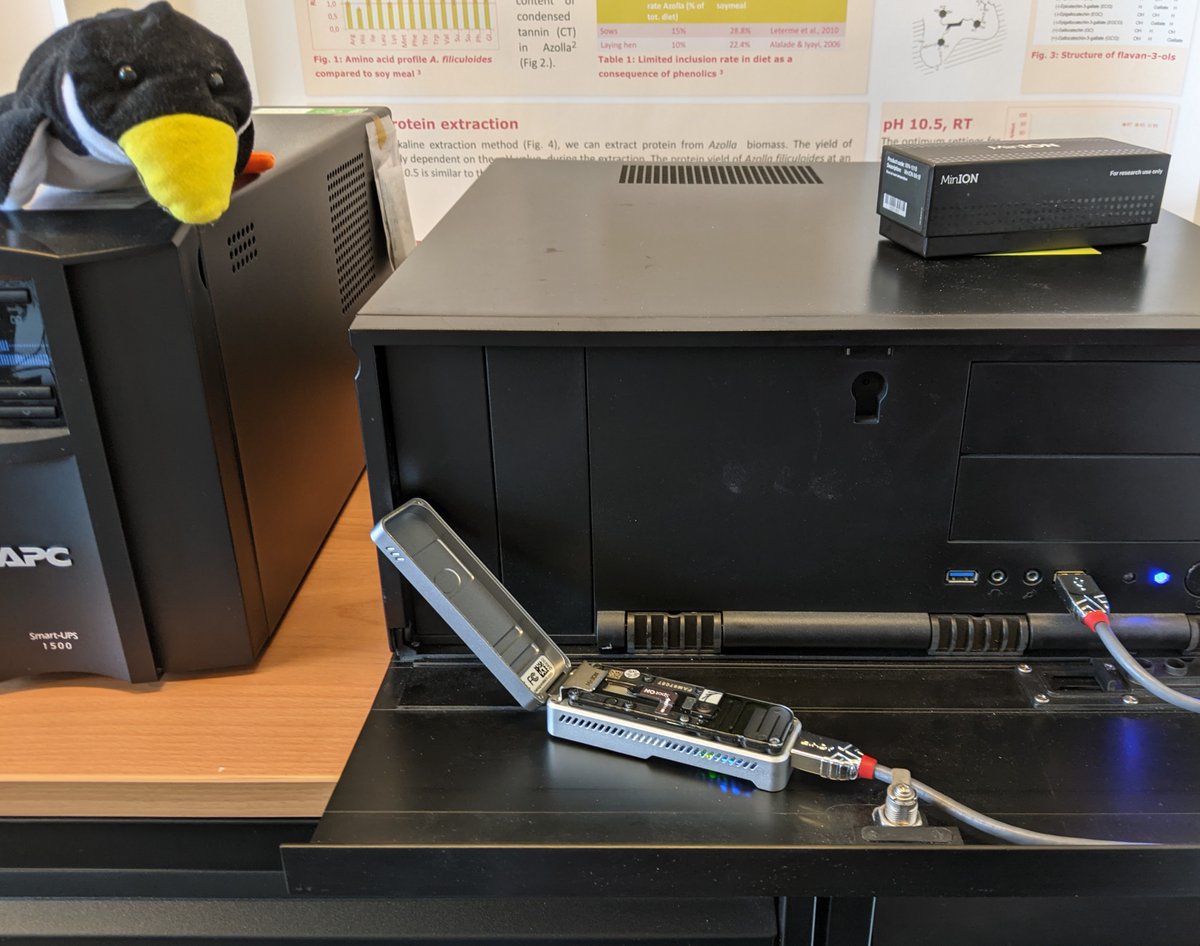
Hardware
Being novices ourselves, we secured some budget and started compiling parts. Only fora for computer building prooved a valueable resource to double check our planned purchases. In the end, we bought a stand-alone case with a 6-core multithreading xeon processor. The machine has a 1TB ssd for the opperating system and user home folders. To store bigger files securely and quickly, we have a 12TB raid10 array configured with btrfs. In practice the btrfs-10 raid array reads nearly as quickly as the SSD, hence the latter is only usefull for rapid writing tasks. Secondly, a btrfs array allows instant copy-on-write snapshotting of a subvolume or directory structure. This is nice for a local “back-up” without actually taking the double space. Additionally, we put in a small GPU so we could use a GUI, but not for GPU intensive calculations per say.
Software
Being a fan of the Ubuntu opperating system, and since this computer will be used by many beginners, we opted for a flavour of Ubuntu called ‘BioLinux’. This distribution has many tools and programmes installed already. Since the introduction of conda, I don’t think this I would strongly recommend this anymore, but I see now argument against using BioLinux over regular Ubuntu either.
conda
I rememeber taking a week to install all software for my first metagenomics experiments as a MSc student. Worse even, I took more than a week to install all software for plant genome annotation via makerp, and gave up because I couldn’t get it to run. Conda (or specifically miniconda3) takes a lot of that pain away! I highly recommend anyone interested in bioinformatics to get acquainted with miniconda right away. Software management has never been so easy. Sure it has it problems, but doing this by hand, solving dependencies and non-matching software versions… that’s way worse.
In a typical setup, each user installs miniconda3 in their own ‘home directory’.
Also in a typical setup, the disk space that this software takes is quite big.
Using the same server with 5-10 people, I figured having 5-10 miniconda installs running is a waste of disk space.
That’s why I chose the following configuration.
I, as administrator and only advanced user have my own miniconda3 installation in my home directory.
In here, I can experiment and play with conda environments.
For all other users, I have a second miniconda3 installation in /opt/miniconda/miniconda3.
This miniconda install is owned by an unprevileged user mpp and all other users (students, PhDs, etc) are added to the ‘mpp’ group.
A new user, doesn’t have conda installed in their user environment by default, hence a new user should run this command first: /opt/miniconda/miniconda3/bin/conda init and then log out, and log in.
The entire directory should be writable by this group, and if any problems arise a quick run of sudo chmod g+w -R /opt/miniconda/ solves this.
This way, any beginners only have to know how to get a conda environment running, and use the tools.
When they are more familiar, they can make their own conda environments if they’d like to.
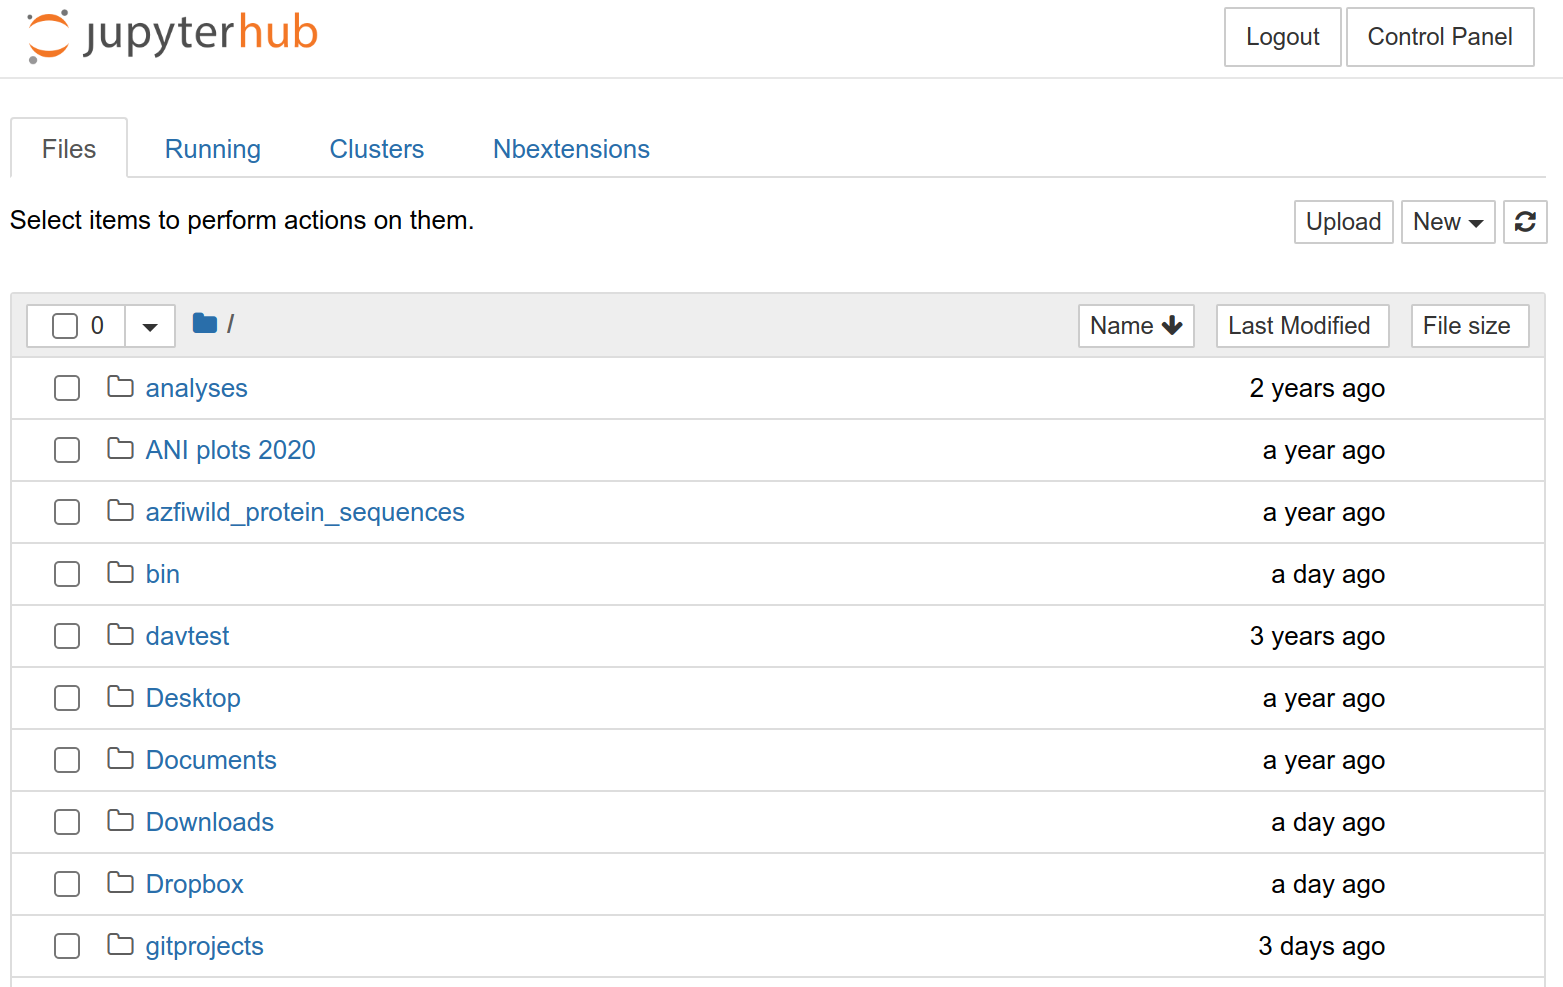
Jupyterhub
Besides conda, the most valuable software tool used by our lab is a JupyterHub server. Jupyter notebooks are a great way by which we can keep track of both our code, as well as our intents and interpretations. Too often have the latter two been lost by students who struggle with writing the code. Using jupyter notebooks, I try to make it as easy as possible for students to create a labjournal with code, and do propper science.
To make it even easier, I have jupyterhub installed. Our server serves a https jupyter webpage on which users can login with their own username and password. This way, a student who is connected to our local network can reach all our bioinformatics tools via the webbrowser without ever having to install any software on their own computer.
Although propperly firewalled, and secured, I consider this a relativelly vulnerable service. Hence, every user has to be given access explicitly via a config on the server owned by the root user. See the ‘adding new users’ section for the details.
If you’re at a UU computer in our lab, find the Jupyterhub page here: jupyterhub.
R server
Additionally, I also have an R-studio-server running. This works pretty much the same as the jupyterhub server, a webpage is served at the servers address and a specific port nr. Users can login with the same username and password as for any service on this server, and run R over a webpage.
If you’re at a UU computer in our lab, find R here: R-studio-server.
Maintenance
Updates are install automatically, but it’s good to check manually every now and then.
As admin user, refresh the list of packages: sudo apt update.
Then, just update everything: sudo apt full-upgrade
Pay attention you’re not removing anything critical.
The current ubuntu version installed (Ubuntu 20.04) will be supported until April 2025.
Conda packages have their own way of being updated. Refer to the conda manual to update your specific conda environment. If you’re updating the shared conda instance, make sure you are the mpp user when you do this, and make sure all of conda is owned by the mpp user: `sudo chown mpp:mpp -R /opt/miniconda’.
How to use
Adding new users
Adding new users can be done in the terminal, or via ubuntu settings. You will need to be the admin user with the appropriate password. Let’s say we’re adding a new user called ‘laura’ then the command would look like so: In the terminal type
sudo useradd -d /home/laura -m -s /bin/zsh -p lauras_standard_password laura
Naturally replace the password by something secure. Also, observe the space just before the sudo command. This is not a typo, but prevents this command from being recorded in the terminal history!
Because of how I organised stuff, we’ll need to add our new user to the ‘mpp’ group. This way, the new user can access files made by the shared mpp user.
sudo usermod -G mpp -a laura
To prevent weird issues, I usually go to the server after this step and manually log in on the physical interface. This seems to be required before being able to use jupyterhub.
Adding new users to JupyterHub
Adding users to jupyter hub is a bit more cumbersome. Jupyterhub uses the users own environment to run, so we need to make sure the IPykernel is installed and configured with an additional bash kernel. If that sounds like garbage to you, just follow the instructions: Login as the new user, either on the physical computer or via your own terminal
su laura
Now we’ll install the ipykernel and the bash-kernel with the following three commands.
pip3 install ipykernel
pip3 install bash_kernel
python3  -m  bash_kernel.install
Second, we need to explicitly allow the new user to login via Jupyterhub via the main config file. To edit this config, do:
sudo nano /opt/jupyterhub/jupyterhub_config.py
Then find the line c.Authenticator.whitelist = {'user1','mpp'}.
Add any user to this list, separated by a comma and with the user name between single quotes.
Also, this is as good a time as any to remove any users from this list who should not have access anymore.
Again, we’re propperly firewalled but any user/password combo is a weakpoint.
Finally, the Jupyterhub service should be restarted
sudo systemctl reload-or-restart jupyterhub.service
Allowing a user to login via ssh
The final mode of loging in, and perhaps the most “dangerous” is via ssh.
This especially comes in handy when connecting to the server from home.
We have to be the admin user, and edit the sshd_config file
sudo nano /etc/ssh/sshd_config
Find the line AllowUsers sjors henriette peter etcetera.
Now add the new user to the end of this line, separated by a space from the other names.
This is also a perfect moment to check if anyone should be removed from this list.
ssh access is very powerfull and should be limited to need-to-have access.
Finally, the service should be restarted
sudo systemctl reload-or-restart ssh.service
More on how to reach the server via ssh in the ‘access’ section
Before running your job
This server is a shared resource, and it can be used remotely by multiple people.
Before running an intensive job, check if there’s resources available.
With the command w you can see who else is logged in via the terminal (JupyterHub is not listed here)
w
Alternativelly, check the load of the server. We have 6 physical CPU’s, each devided up in two virtual ones. This means that in practice the load should not be highter than 12. If it’s 13 or 14, you should be fine, but not much higher. check the server load with
uptime
This will give you three numbers, the load average of the last 15, 5 and 1 minute(s).
If you’re logged in via a terminal, or you started a terminal via Jupyterhub (new -> new terminal), then you can do this fancy thing
htop
This gives you an overview of the load per CPU, the RAM memmory usage, the total load, and which processes contribute to that load.
If sufficient resources are available, let’s check disk space. To check diskspace of the SSD with all our home directories do
df -h /
To do this for our RAID array with all big data files
df -h /stor
If you wonder if you’re hogging any space on the SSD, just check the total size of your home directory.
du -h --max-depth=1 ~
You could always move bigger files to /stor/ or to /stor/archive/home.
access
physical
Rather obvious, just sit in front of the physical computer in our office.
local
On the local university network, you can reach the server on mpp-server.science.uu.nl. If you’re looking for jupyter, go to jupyterhub. If you’re looking for R, then go to R-studio-server. Again, several firewalls keep these pages from being accessed from the world wide web. Only the UU computers in our corridor can access the server without any proxy intermediate.
ssh
For all other access, you can login through a proxy server with a solis-ID that is associated with the science faculty. The proxy server is called gemini, and is actually a decent server itself on which you may do some calculations. I have setup a connection to gemini via ssh config. To edit your config file in your home directory, do
nano ~/.ssh/config
In this file, I have setup gemini like so
Host gemini
        Hostname gemini.science.uu.nl
        User <yoursolisID>
        ForwardX11 yes
If this works, proceed to making an ssh-key like so
ssh-keygen -f ~/.ssh/<your-computer-name>-gemini
Choose a good password. Then transfer your public key to gemini
ssh-copy-id -i ~/.ssh/<your-computer-name>-gemini.pub gemini
Now edit your ssh config like so:
Host gemini
        Hostname gemini.science.uu.nl
	User <yoursolisID>
        ForwardX11 yes
	IdentityFile ~/.ssh/<your-computer-name>-gemini
        IdentitiesOnly Yes
To access our mpp server, you can’t login with a password like you did with gemini.
The public key will need to be added manually to the server.
Other than that, the steps are very similar.
First, make a new key, but now name it ~/.ssh/<your-computer-name>-mppserver.
Then, add a new entry to the ssh config file like so
Host mpp
        HostName mpp-server.science.uu.nl
        User <your-user-name>
        ForwardX11 yes
        IdentityFile ~/.ssh/<your-computer-name>-mppserver
        IdentitiesOnly Yes
        LocalForward 8000 localhost:8000
        LocalForward 8787 localhost:8787
        ProxyCommand ssh gemini nc %h %p 2> /dev/null
This won’t work yet. Send your public key to me or whoever is administrating the server and ask them to add it to the authorised keys file. Also remind them that you need to be added to an ssh-access list specifically, like indicated above in the ‘new user’ section.
Note that the above proxy command only works because we defined the ssh server gemini first.
Also, if you’re on a slow connection, consider adding Compression Yes to both server configs, this may speed things up slightly.
archiving user
When people leave the lab, I move their home directory to /stor/archive/home to free space on our main SSD drive.
Naturally, you need to be the admin user to do this.
Secondly, I recommend locking their accounts.
This doesn’t remove them, but it does dissable remote or physical access.
As admin do:
sudo usermod --lock old-user
Don’t forget to also remove them from ssh and JupyterHub access lists, just to keep everything neat and clean.
back-up
I have no automated backups on this server (yes I know that’s bad). Manual updates are made to science.yoda.uu.nl. Login with your solis e-mail and solis password.
Backing up data goes via the iRods commands. The nitty gritty of irods is too much for this page, so go read the manual. ;)